Whether you're dealing with spotted glassware or limescale buildup, understanding water hardness is key to protecting your home. A common question we hear is: What’s a good hardness level for a water softener?
Discover how to measure water hardness and how softener systems can benefit you.
Understanding Water Hardness
Water hardness refers to the amount of dissolved calcium and magnesium in your water. These naturally occurring minerals may not be harmful to your health but often cause plumbing problems.
How Is Water Hardness Measured?
Water hardness is typically measured in:
- Grains per gallon (gpg)
- Parts per million (ppm)
- Milligrams per liter (mg/L)
Here’s a quick reference using the ppm water hardness chart:
|
Hardness Classification |
GPG (Grains Per Gallon) |
PPM (Parts Per Million) |
|
Soft |
0–3. |
0–60 |
|
Moderately Hard |
3.5–7.0 |
61–120 |
|
Hard |
7.0–10.5 |
121–180 |
|
Very Hard |
10.5+ |
180+ |
This is known as the water hardness scale(ppm and gpg).

Why Water Softening Matters
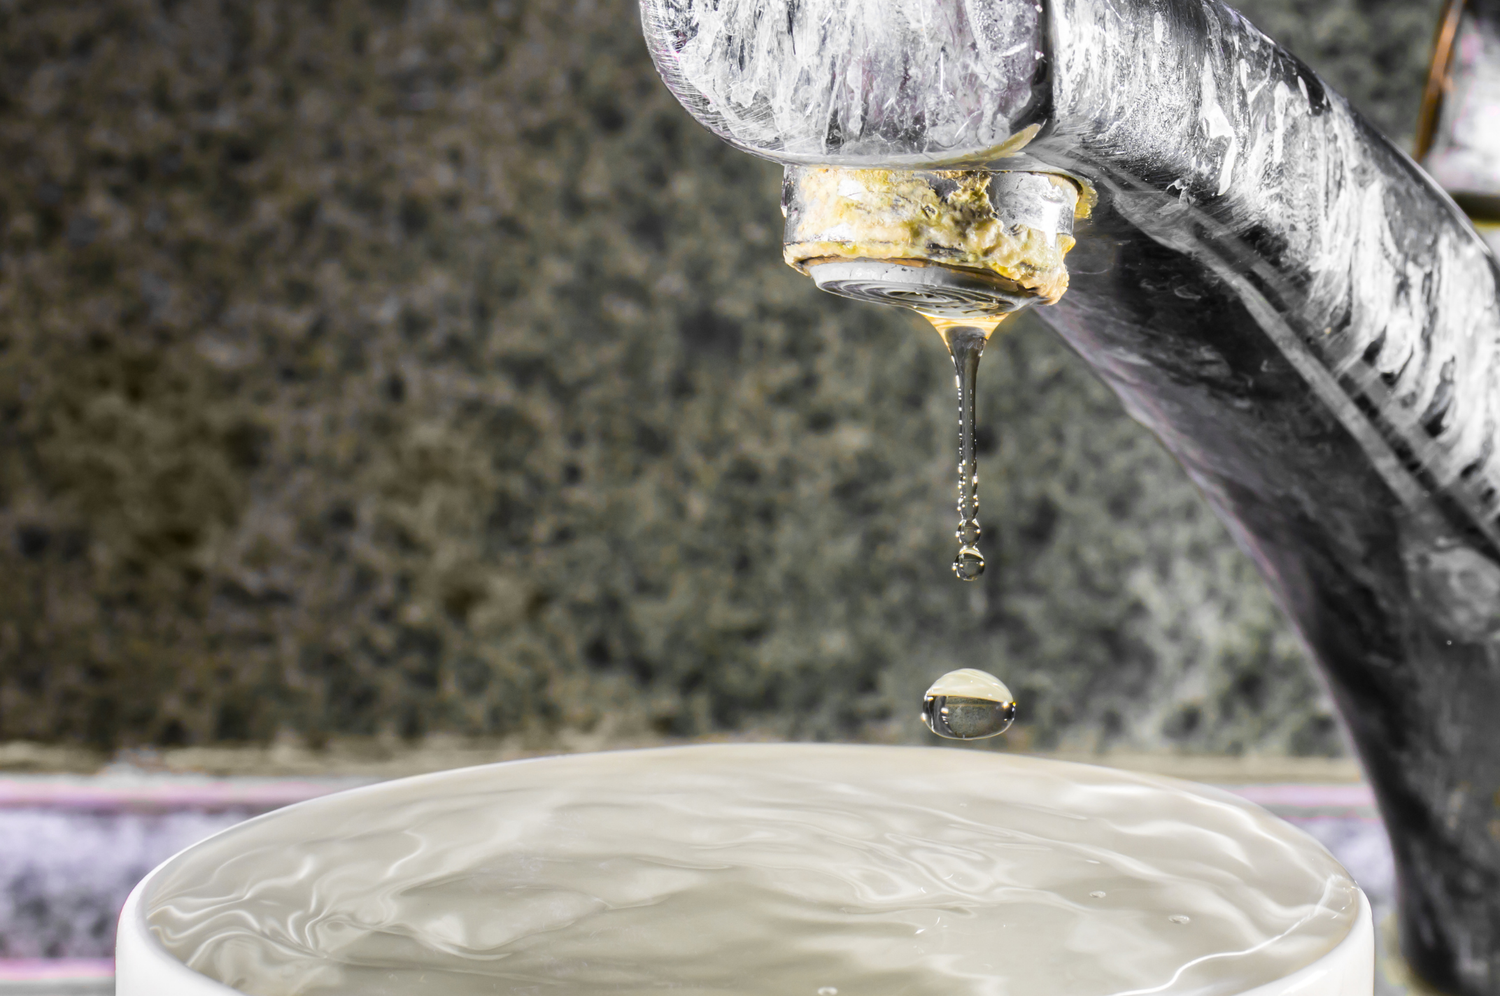
If your home has hard water, you’ve likely noticed:
- Soap doesn’t lather well
- Spotty dishes and glassware
- White chalky buildup on faucets and shower heads
- Decreased water heater efficiency
- Premature wear on appliances and plumbing
Water softeners remove calcium and magnesium ions and replace them with sodium or potassium ions. This results in cleaner water, longer-lasting appliances, and lower energy bills.
What Is a “Good” Hardness Level?
Water softeners lower the hardness to a manageable and efficient level.
Ideal Hardness Level After Softening
- 0–3 gpg (or up to 50 ppm) is generally the recommended water hardness level.
Reducing hardness to exactly zero is not always necessary. Some homeowners prefer a slight mineral presence to avoid overly "slippery" water, especially in drinking water applications.
Achieving the best water hardness level means finding a balance between efficiency, appliance protection, and personal preference.

High Level Water Hardness Recommendation Chart
Here’s a quick reference chart for adjusting your softener depending on your raw water’s hardness. This chart is useful for figuring out your water softener's water hardness level and how to adjust it.
|
Common Softener Level (gpg) |
Hardness Scale |
Recommendation |
|
Water softener hardness level 20 |
Very Hard |
Recommended setting for moderate to high hardness; suitable for most households. |
|
Water softener hardness level 25 |
Very Hard |
Adjust if you see scale buildup; monitor for efficiency. |
|
Water softener hardness level 30 |
Very Hard |
Set for areas with high mineral content; regular maintenance advised. |
|
Water softener hardness level 35 |
Extremely Hard |
Consider pre-filtering or enhanced softening systems. |
|
Water softener hardness level 40 |
Extremely Hard |
High setting may be needed; consult your manufacturer’s guide. |
|
Water softener hardness level 45 |
Extremely Hard |
Ensure system capacity matches hardness level. Monitor salt usage. |
|
Water softener hardness level 50 |
Extremely Hard |
Use advanced softeners or tandem systems; test water regularly. |
Use a water hardness chart (ppm) or water hardness scale (gpg) to determine your water level. Then you can match it with the correct softener setting.
How to Test and Adjust Your Water Softener
Knowing your water hardness level is the first step to optimizing your water softener settings. Here’s how you can test and adjust your system for the best results:
Step 1: Test Your Water Hardness
There are several easy ways to test your water hardness at home:
Water Hardness Test Kits: These are available online or at hardware stores and typically include test strips that change color based on hardness levels. Simply dip a strip in your water sample and compare the color to the included chart.
Send a Sample to a Lab: For more accurate results, consider sending a water sample to a certified lab. This is especially useful if your water source is well water or if you notice fluctuating hardness levels.
Contact Your Water Supplier: Municipal water providers often publish water quality reports that include hardness levels for your area.
Step 2: Understand Your Results
Once you know your water hardness in grains per gallon (gpg) or parts per million (ppm), refer back to the Water Softener Setting Chart above to determine the recommended setting for your softener. For example, if your water tests at 20 gpg, you’ll want to set your softener for moderate to high hardness.
Step 3: Adjust Your Water Softener Settings
Most water softeners have adjustable controls to set the hardness level:
Manual Dials: If your system uses a manual dial, rotate it to match the hardness level determined by your test.
Digital Controls: For softeners with digital panels, input the hardness level directly following the manufacturer’s instructions.
Regeneration Frequency: Harder water may require more frequent regeneration cycles. Adjust these settings as needed to maintain optimal softening performance.
Step 4: Monitor and Maintain
After adjusting your settings, keep an eye on:
Salt Levels: Ensure your brine tank is regularly refilled with salt or potassium pellets.
Water Quality: Check for improvements in soap lather, spot-free dishes, and reduced scale buildup.
System Performance: Schedule regular maintenance and service checks to keep your softener running efficiently.
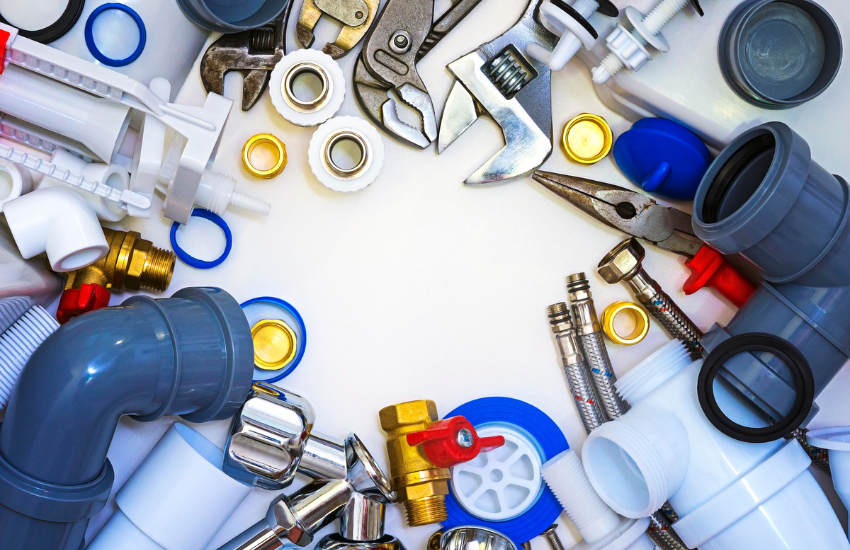
Tips for Maintaining Your Water Softener
Use High-Quality Salt: Choose pellets or crystals recommended by your softener’s manufacturer.
Clean the Brine Tank: At least once a year, clean out the brine tank to prevent salt bridges and sludge buildup.
Check for Leaks: Inspect your system for any leaks or wear in the valves and hoses.
Test Water Regularly: Hardness levels can fluctuate due to seasonal changes or water source variations, so test your water every 6-12 months.
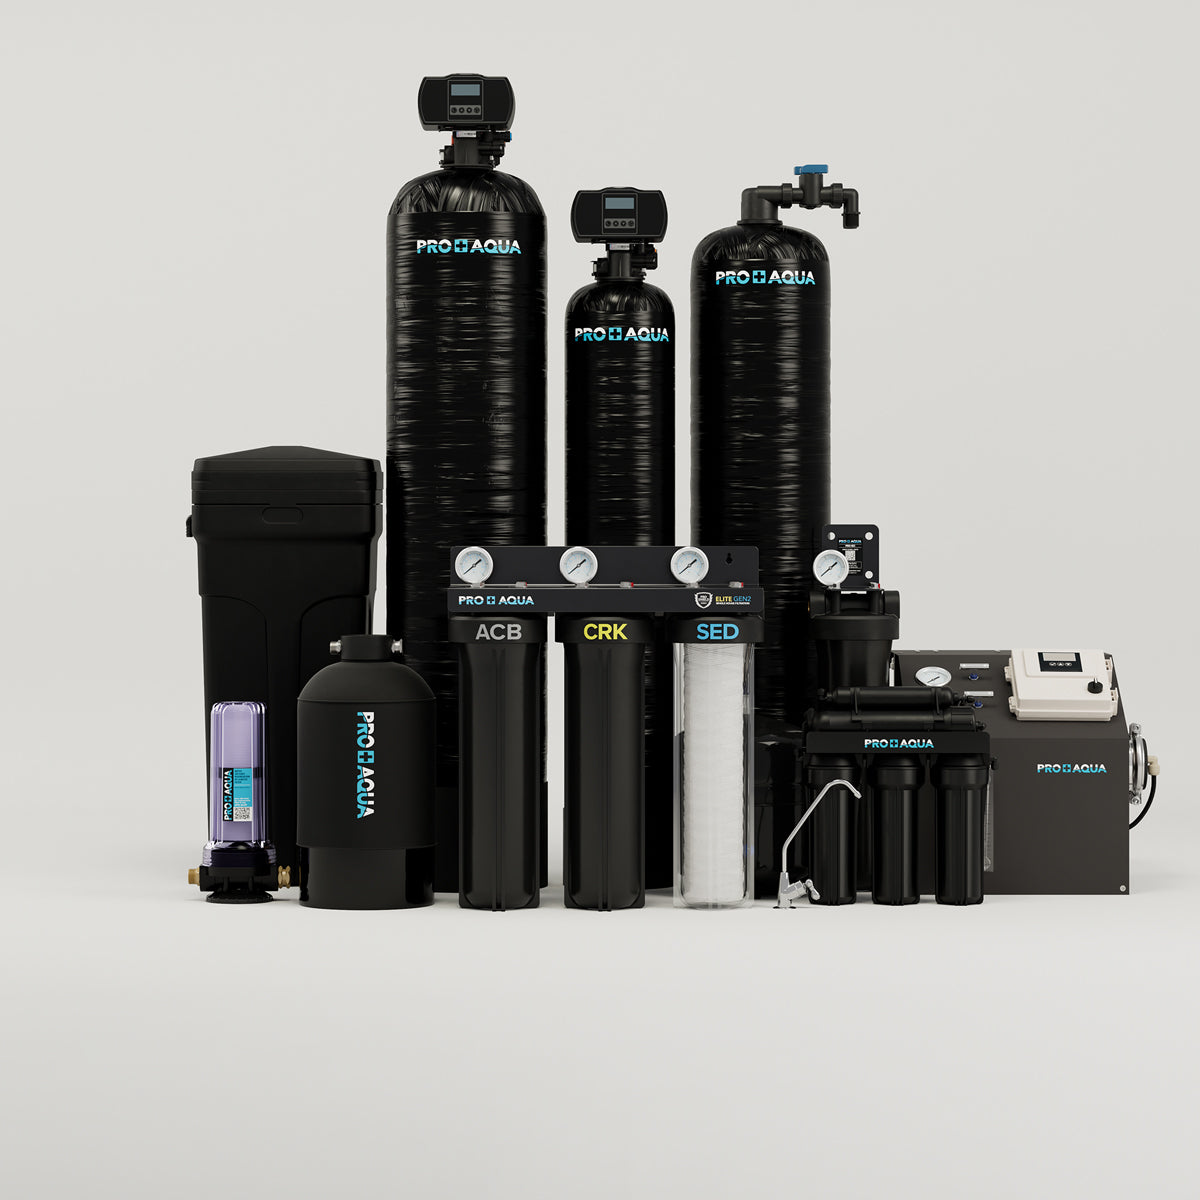
Explore PRO+AQUA Solutions
The PRO+SOFT collection encompasses a variety of water softening systems, each tailored to specific requirements:
- Whole House Systems: Designed for comprehensive home coverage, these systems help reduce scale buildup and improve water quality throughout your residence.
- Salt-Free Conditioners: Ideal for those looking to minimize sodium intake, these systems condition water without the use of salt, aiming to preserve beneficial minerals while reducing hardness.
- Portable Units: Perfect for RVs, boats, or car washing, these compact systems offer flexibility and convenience for soft water on the move.
Each product in the PRO+SOFT series is crafted to address specific water challenges, ensuring that you can find a solution that aligns with your lifestyle and water usage needs.
Top Picks from the PRO+SOFT Collection
PRO+AQUA PRO-S-80E 80K Whole House Softener
Best for: Large homes and homes that run on well water

Why it stands out:
-
80,000 grain capacity for large homes and high water use
-
Smart metered regeneration reduces salt and water waste
-
Digital control valve with easy-to-read display
-
Helps prevent scale buildup in pipes and appliances
20 GPM Salt-Free Whole House Softener with 3-Stage Well Water Filter System
Best for: Large homes with high water demand

Why it stands out:
- High-capacity design handles multiple bathrooms and heavy use
- Reduces hardness and improves water quality without salt
- Excellent choice for homes with scale-prone appliances
- Big flow, low maintenance, soft water. Win-win-win.
10 GPM Salt-Free Whole House Water Softener with Single-Stage Carbon Filter System
Best for: Small households or city water setups

Why it stands out:
- Salt-free softening reduces scale without adding sodium
- Integrated carbon filter tackles chlorine and odors
- No maintenance brine tank required
-
Perfect for users looking for light to moderate scale prevention with a simpler install.
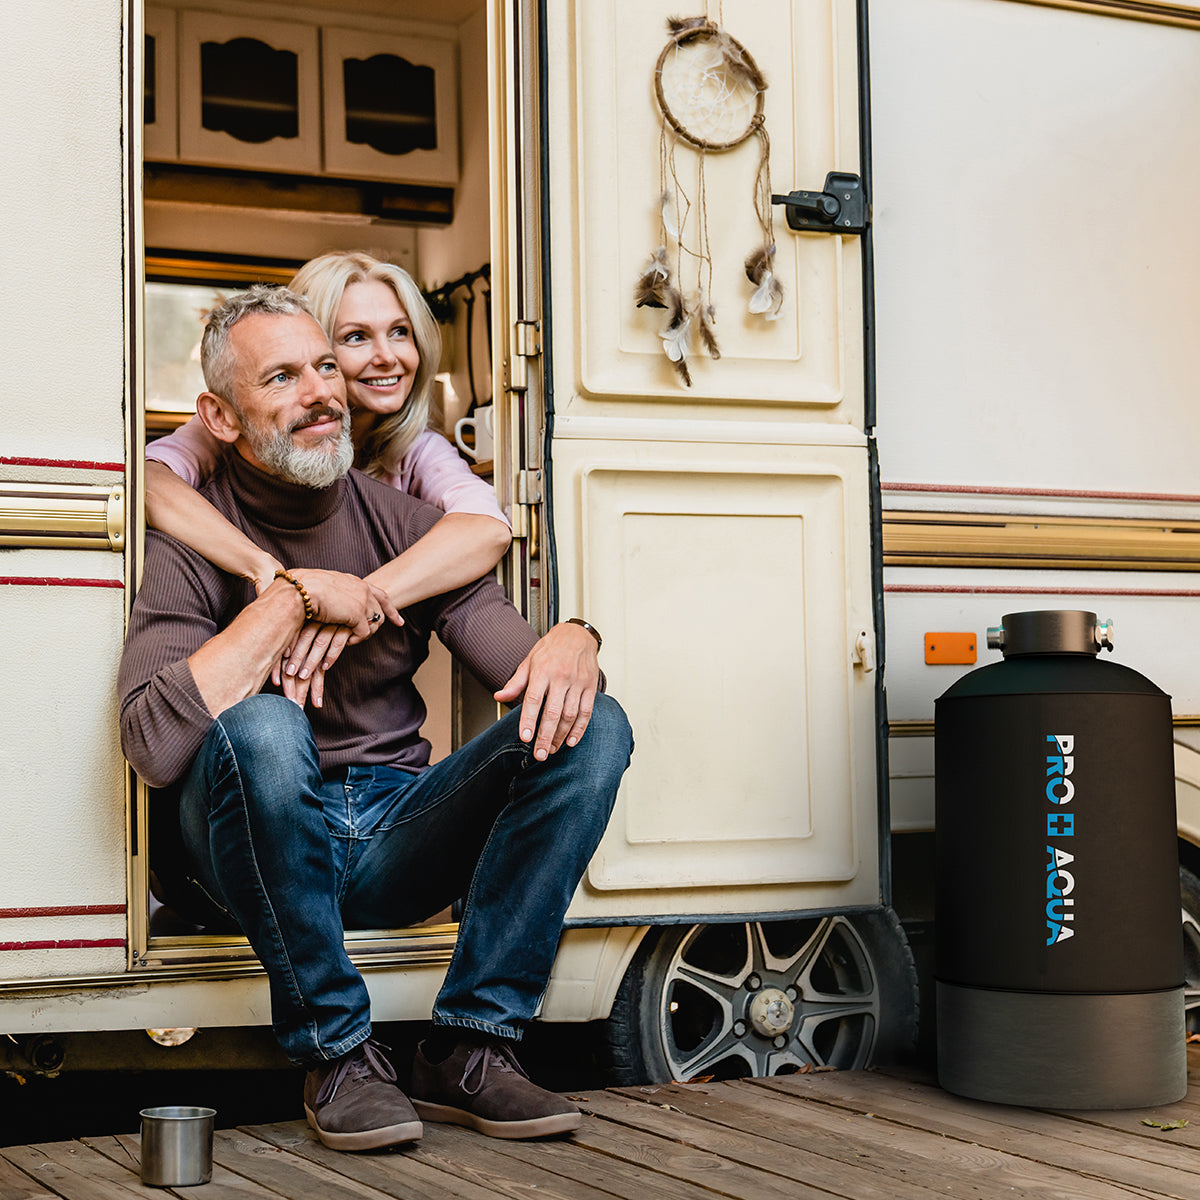
PRO+AQUA WS-P-16 Portable RV Water Softener – 16,000 Grain
Best for: RVs, boats, and mobile setups

Why it stands out:
- Delivers powerful softening in a compact, travel-ready design
- Reduces water hardness to protect RV plumbing, fixtures, and water heaters
- Easy hose connection with no tools needed
- Great for travelers who want scale-free showers and spotless sinks on the road.
Common Misconceptions
“Softer is Always Better”
Not necessarily—water that’s too soft can feel slippery and may not be ideal for everyone’s taste. A level of 0–3 gpg is generally ideal, but many homeowners keep it closer to 2–3 gpg for a more natural feel.
“Softened Water is Unsafe to Drink”
This is a common myth—the amount of sodium added to water through ion exchange is typically safe. However, if you’re on a low-sodium diet, consider a potassium-based softener. Another option would be installing a reverse osmosis filter for drinking water.

FAQs
What is the ideal water hardness level after using a softener?
The ideal post-softening hardness level is between 0–3 grains per gallon (gpg). This range reduces limescale, improves appliance efficiency, and still feels natural for most users. Some homeowners prefer to stay closer to 2–3 gpg to avoid water that feels too "slippery."
How do I know what hardness level to set my water softener to?
First, test your raw water hardness using a DIY test kit, digital meter, or professional lab test. Once you know the gpg or ppm level, match it to your softener’s setting chart. Always refer to your softener’s manual for exact instructions.
Can water be too soft?
Yes. Over-softening can make water feel slippery or unnatural, especially for bathing or drinking. Many people prefer staying around 2–3 gpg to maintain comfort without sacrificing appliance protection. Finding the right balance is unique to your preferences.
Conclusion
To get the most from your water softener:
- Know your hardness level.
- Set your system properly using the gpg water hardness scale.
- Aim for a post-softening range of 0–3 gpg.
- Test your water periodically and maintain your system.
By knowing your water and changing your settings, you can enjoy the benefits of soft water without any guesswork. For more help or a professional water test, contact your local water treatment expert today.

Leave a comment
This site is protected by hCaptcha and the hCaptcha Privacy Policy and Terms of Service apply.