

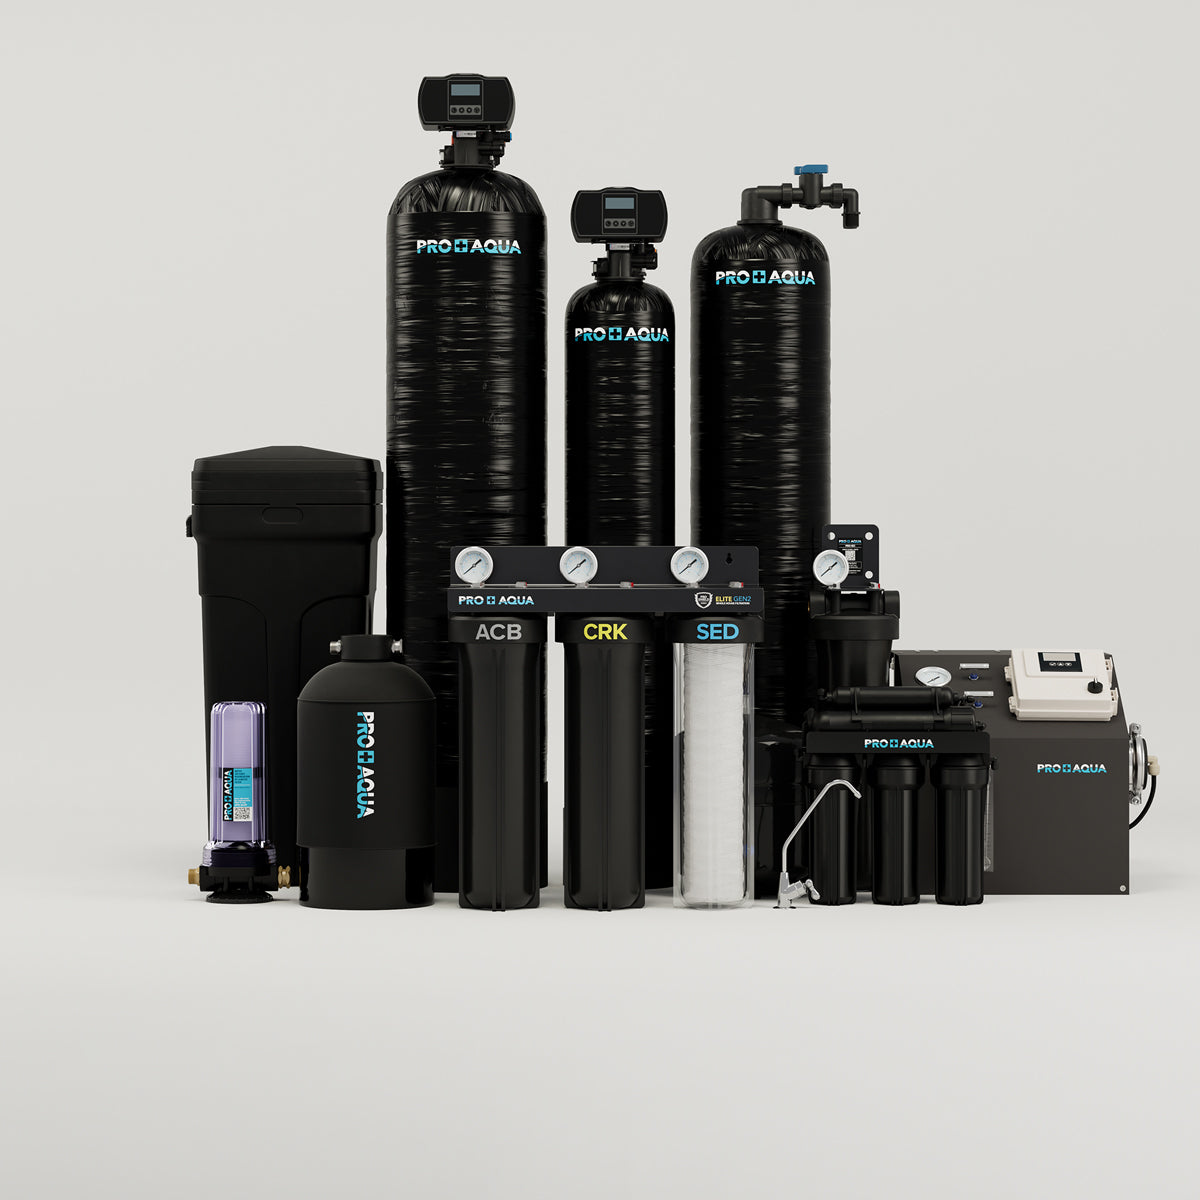

Opening up a water softener for the first time can feel overwhelming, with tanks, hoses, and a control head that looks more complicated than it actually is. Breaking the system down into its individual water softener parts makes the whole setup much easier to understand, whether you're troubleshooting an issue or getting ready for a new installation.
Each piece serves a clear purpose, and once you know what does what, maintenance stops feeling like guesswork. Here's a look at the seven components that make up most residential systems.
Control Valve
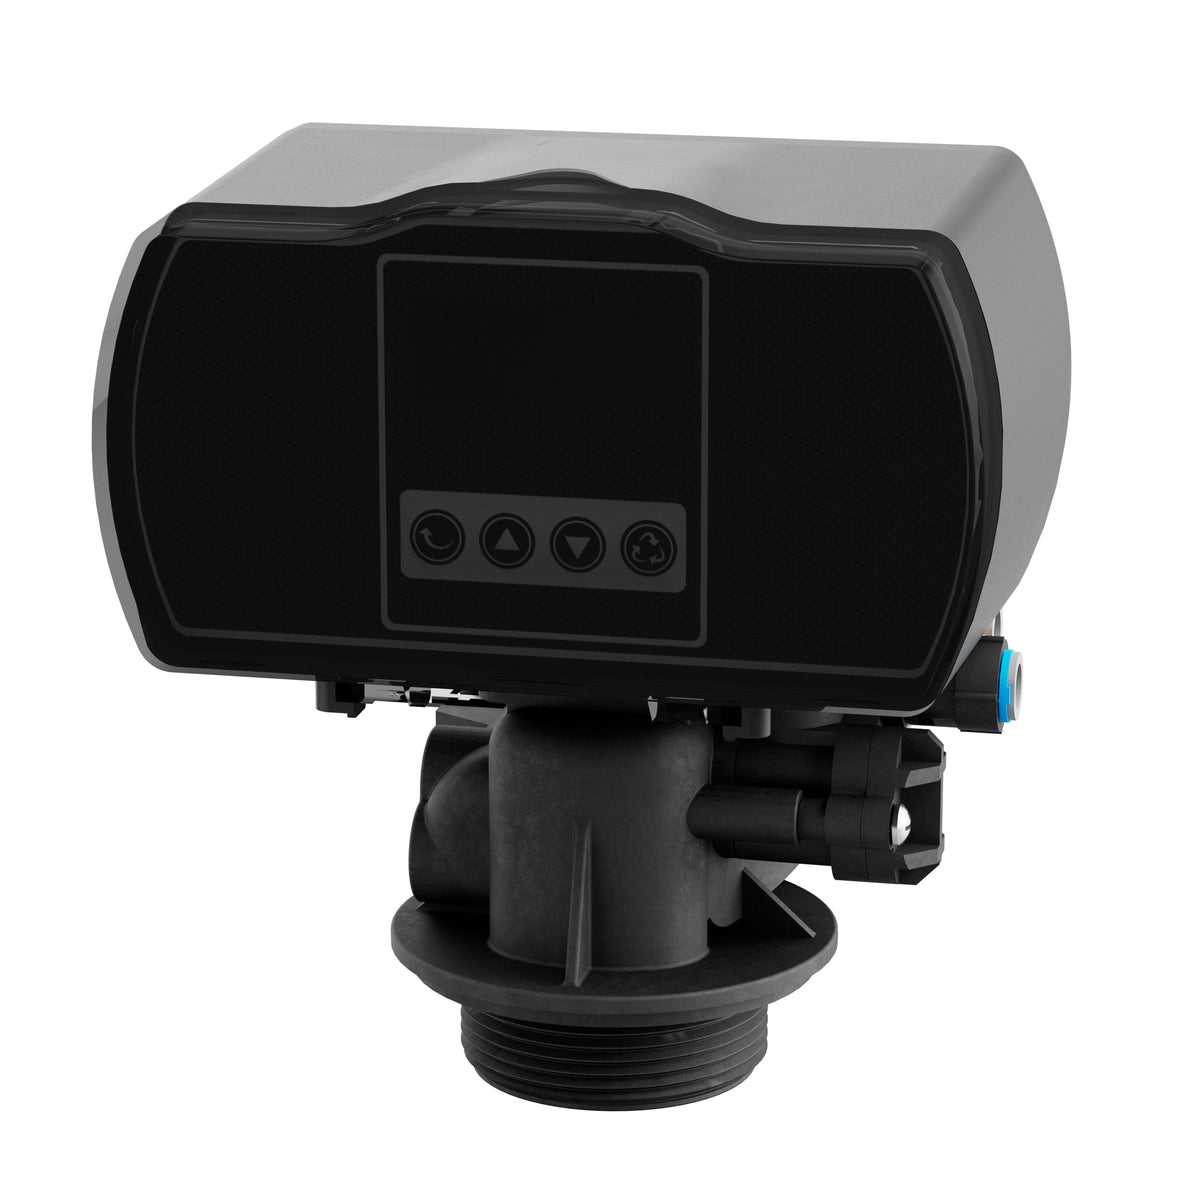
The control valve sits on top of the resin tank and acts as the brain of the entire system. It manages water flow during normal use and controls the timing, duration, and sequence of the regeneration cycle. Digital metered valves track actual water usage and trigger regeneration only when needed, while older timer-based valves run on a fixed schedule regardless of demand.
Some newer valves also display diagnostic information on a small screen, giving homeowners a quick way to check settings or spot an error code without opening the unit.
Resin Tank
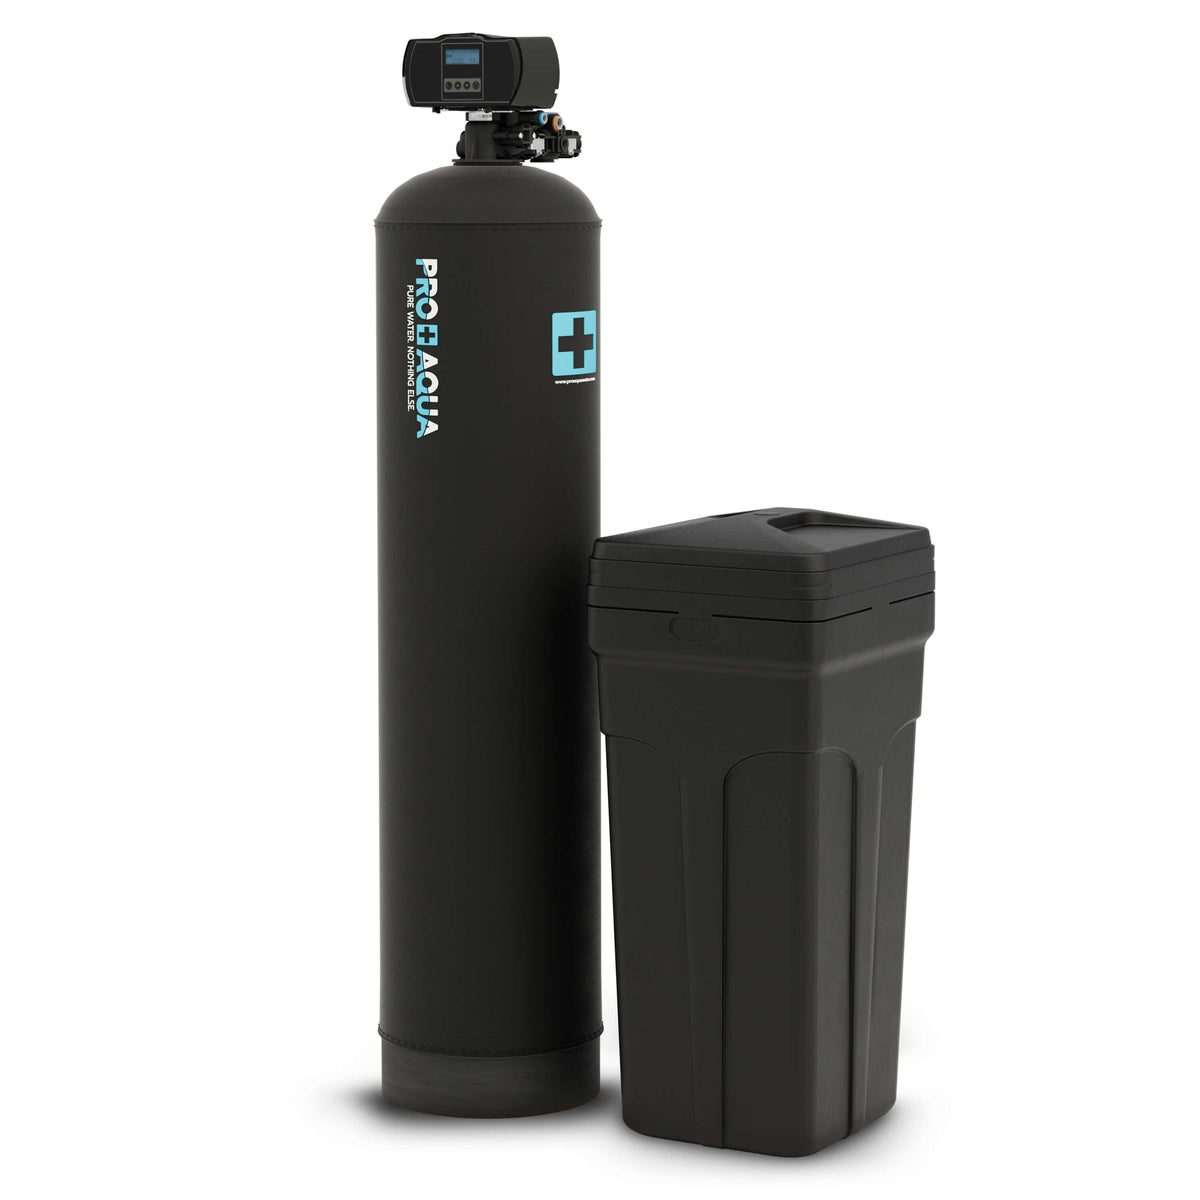
This tank holds the resin beads responsible for the actual softening process. As hard water flows through, calcium and magnesium ions swap places with sodium ions attached to the resin, leaving softened water to continue through your home's plumbing.
The tank itself is typically made from fiberglass-reinforced plastic, built to handle constant pressure and years of daily use without cracking or corroding.
Resin Media
The resin itself consists of small beads, usually made from a polystyrene material, coated with sodium ions. Over time and repeated regeneration cycles, this media wears down and eventually needs replacing, though a well-maintained bed can last many years before that point.
Higher-quality resin holds up better against iron and chlorine exposure, which is why the type of media used often affects how long a system performs well between replacements.
Brine Tank
Positioned next to the resin tank, the water softener brine tank holds the salt or potassium used to create a concentrated brine solution. During regeneration, this solution flushes through the resin bed, recharging it with fresh sodium ions and flushing out the collected hardness minerals.
Most brine tanks include a float valve that limits how much water enters the tank, which helps prevent overfilling and keeps the salt-to-water ratio consistent for each cycle.
Injector or Venturi
This small but important part draws brine from the tank into the resin tank during regeneration. A clogged injector is one of the more common causes of a softener that stops regenerating properly, since it directly affects the system's ability to pull in the brine solution.
Sediment, salt residue, or mineral deposits are usually to blame, and a quick cleaning often restores normal function without needing a full part replacement.
Bypass Valve
The water softener bypass valve allows water to skip the resin tank entirely, useful during repairs, maintenance, or when treated water isn't needed for a task like outdoor watering. Every homeowner should know its location and how to switch it, since it protects the system during service work.
Most valves include clear labels or arrows marking the service and bypass positions, making it easy to switch between them without needing to consult a manual each time.
Distributor Tube and Basket
Running through the center of the resin tank, this tube evenly distributes water across the resin bed and prevents beads from escaping into your home's plumbing. A cracked distributor tube is a common reason resin beads sometimes show up in tap water.
The basket sits at the top of the tube and works as an additional screen, catching stray beads before they can travel further into the system's outlet line.
What to Know Before You Install Water Softener Systems
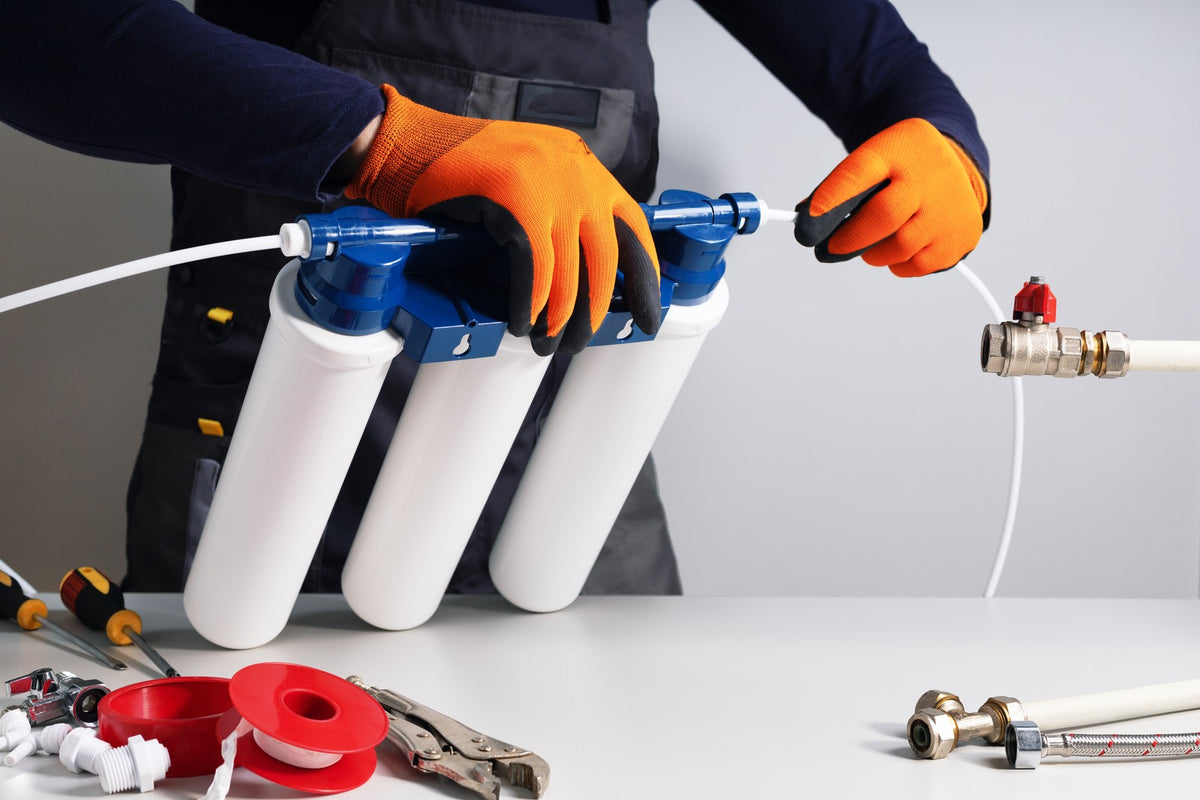
Understanding these parts pays off most clearly during installation. Knowing where the bypass valve sits, how the brine tank connects to the resin tank, and where the drain line runs makes the whole process feel far less intimidating.
Most kits include pre-cut fittings and flex lines designed for a straightforward setup, and having a basic grasp of each component helps you catch mistakes early, like a loose fitting near the injector or a drain line kinked during placement. Whether you're installing your first system or replacing an older unit, familiarity with these parts turns a confusing project into a manageable one.
Get Dependable Parts and Systems from Pro+Aqua
At Pro+Aqua, we build our systems with commercial-grade components and NSF-certified resin, so the parts inside your unit are built to outlast the basic hardware found in cheaper models. Every softener comes pre-assembled, which cuts out guesswork during setup, and our warranty covers the valve, resin, and tanks so you're not left paying out of pocket if a part fails early.
If something does need replacing down the line, our Parts collection carries individual components like control valves, injectors, and distributor tubes, so a single worn piece doesn't mean shopping around for a compatible fit elsewhere or replacing the whole unit. Ready for a system built with quality components from the start? Browse our Pro+Soft lineup and get a softener designed to perform for years.

Leave a comment
This site is protected by hCaptcha and the hCaptcha Privacy Policy and Terms of Service apply.